
Amazon Web Services has a number of services that you can utilize to host entire application stack for a production audience. These services add a lot of value beyond simply hosting everything directly in an EC2 instance. Ease of configuration, simplified scalability, system metrics and automated backups are just a few of the benefits.
Over the next few posts, I’ll walk you through the recipe I recently employed for hosting a production application built with ReactJS, Spring Boot, and MySQL. The application was built for a software startup; one major advantage of this technology stack is that the entire solution can also be hosted on premises in the case of an enterprise sales opportunity.
For the complete walkthrough, I’ve assembled a simple guestbook-style sample application (front end and back end) that demonstrates all the major muscle movements. The diagram below illustrates the end state.

Route 53
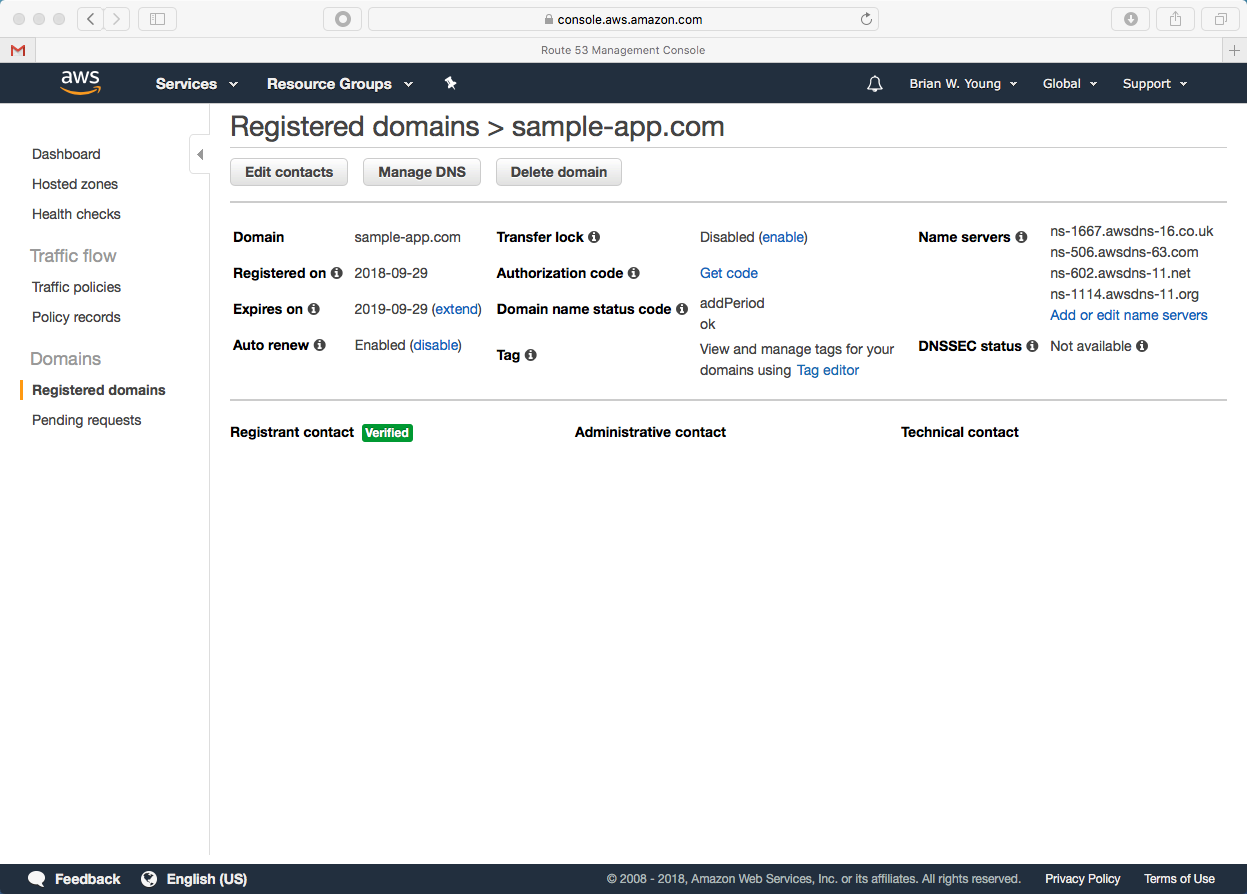
Since we don’t want to host the site at a randomly assigned URL, our first stop is Route 53. Route 53 makes it painless to purchase a domain name. Doing this inside the AWS ecosystem vs. externally simplifies things going forward.
We’ll register sample-app.com, and our users will visit https://sample-app.com to interact with the application. For a few clicks and the price of a couple of lattes, the domain is ours!

Certificate Manager
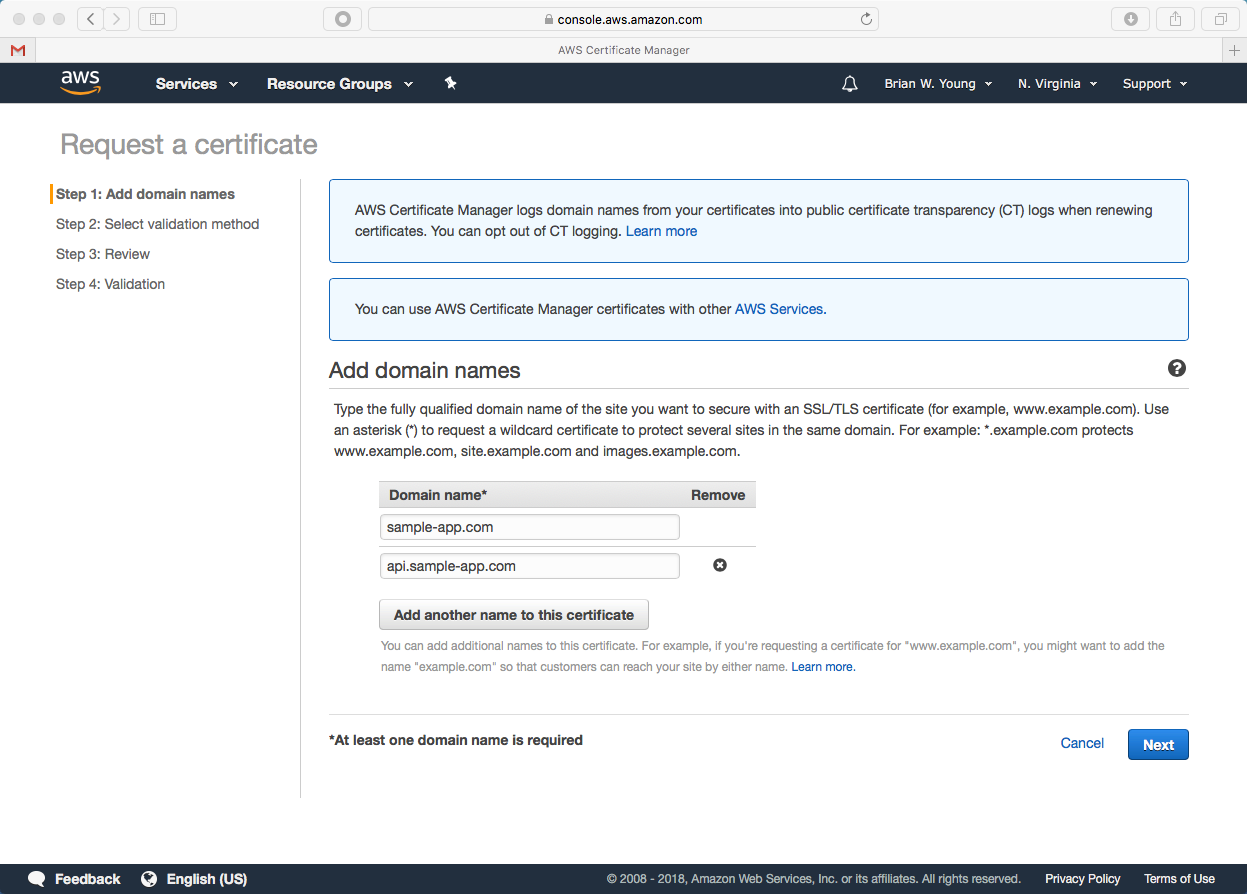
The front end needs to be delivered to the end user via https, and communication between the front end and back end also needs to be secure. Certificates that are trusted across all major browsers can be obtained for free via Certificate Manager.
- Now is the time to give some thought to AWS regions. The certificates you create are specific to a region. For this example, we’ll host the entire stack exclusively in us-east-1.
- We will obtain a single certificate for sample-app.com with an alternate name of api.sample-app.com. As you’ll see later, these names will be used by CloudFront and Elastic Beanstalk, respectively.
- In order for Amazon to issue the certificate, we need to add a CNAME record to DNS. Remember how I said that registering our domain with Route 53 simplifies things? We can create the CNAME record by simply clicking a button (see second screenshot, below.)


In my next post, we’ll deploy our RESTful back end to Elastic Beanstalk and host our database in RDS.

One thought on “Full Stack Hosting in AWS – Part 1”